Recording acoustic guitar and attaining professional results can be a difficult task, but with a little planning and careful attention to detail it is possible to achieve excellent-sounding tracks you can be proud of.
Where do you start?
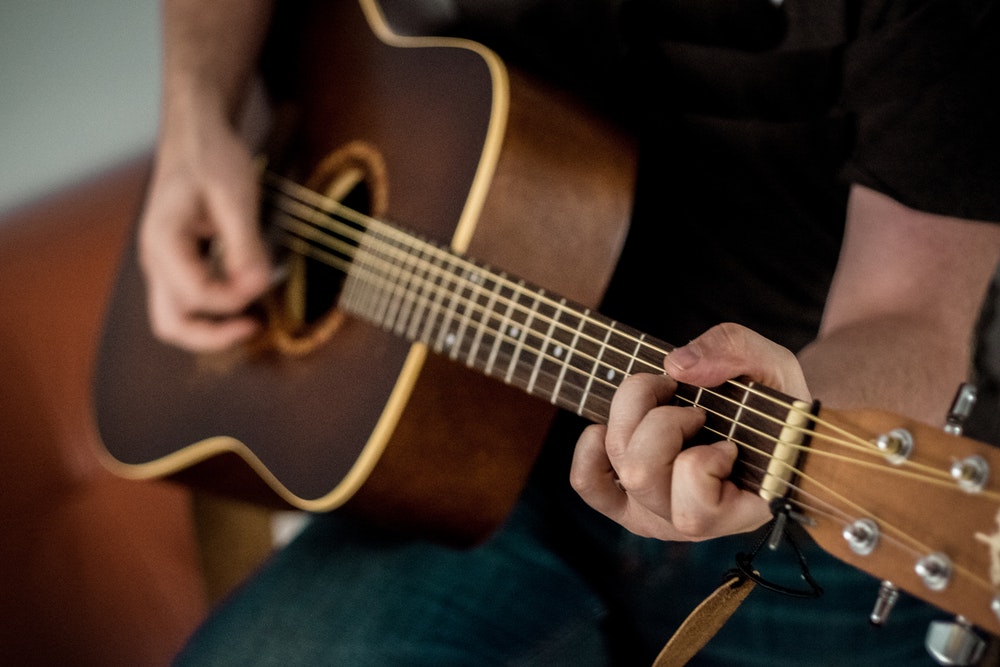
The place to begin is at the source of your sound. Before you ever hit that record button, make sure your guitar is studio ready.
Your strings should be reasonably fresh and there should be no discernible rattles or buzzes coming from the guitar.
The recorded sound of your acoustic guitar will vary greatly depending upon the gauge of strings you choose to play, so decide ahead of time what sound you’re after.
A heavier gauge will naturally produce a thicker, heavier sound. The result might be a little too tubby to cut through a rock mix, but might be just right for a sparse guitar/vocal arrangement.
A lighter gauge string will have more cut, but going too light may sound too thin.
If you play with a pick, try experimenting with different pick thicknesses. I find the thinner ones tend to produce the sound I’m usually after.
Make sure your guitar is in tune and stays in tune! I can’t stress enough the importance of checking your tuning regularly between takes.
Recording session time
When your guitar is ready to go, pick the spot where you’ll be sitting.
A comfortable stool in the middle of the room is a good idea, but make sure the stool doesn’t creak when you shift your weight!
When recording acoustic guitar, a good condenser microphone will pick up any unwanted noise, and if it’s a sparse recording, you’ll hear everything.
Be aware of any clothing or accessories that you wear. Belt buckles, rivets on your jeans, bracelets, watches and rings all have the potential to tap against your instrument and ruin a good take.
Acoustic instruments thrive in a live-sounding room. If your room is too dead due to wall-to-wall carpeting and soft furniture, try placing a sheet of plywood or hardwood on the floor directly beneath the guitar.
If the room is too empty, the resulting sound can be too bright and tinny. If this is the case, consider draping some blankets around to minimise the standing waves.
What mic to choose?
Assuming you have more than one type of mic, which one/s should you choose when recording acoustic guitar? Generally, the condenser microphone is the one most recording engineers reach for.
Many people prefer the sound of a small diaphragm condenser, also known as a pencil condenser, on acoustic instruments. Large ones also work well, but the pencil type seems to be the mic of choice due to its ultra-responsive, smaller, lighter-mass diaphragm.
Of course, we mustn’t forget that recording music is an art form. So have fun and experiment with different mics and decide for yourself which ones you like the best.
Placement of microphones
A more important decision than the microphone you choose to use is where you decide to put it. Here are a few of the most common microphone configurations for recording acoustic guitar:
Use one mic
When using one mic, a good starting point is aiming a small diaphragm condenser at the place where the neck joins the body, at a distance of 6 to 12 inches. Moving the mic a little toward the sound hole will produce a warmer, fuller sound and moving it toward the fretboard will produce a thinner sound.
The area directly in front of the sound hole should probably be avoided as the sound here tends to be rather boomy. For a fuller sound without the boominess, try placing the mic above the sound hole, looking down at it.
You can also try aiming the mic at the bridge, but be sure to avoid the acoustic shadowing of the player’s arm.
Using more mics
When using more than one mic there are several options you can try, provided you have the required gear:
The XY Pattern, also known as Coincident Pair, is my personal favourite miking technique when recording acoustic guitar.
This involves placing two small diaphragm condensers at 90° to each other with one mic’s capsule directly above the other. This setup virtually eliminates any of the phase problems typically encountered when using two mics to record a single sound source.
Positioning them roughly at the 12th fret with one mic pointed toward the fretboard and the other mic pointed toward the sound hole will give you a nice balance between the high and low frequencies of the guitar.
The Near-Coincident Pair calls for two directional mics angled 110° with capsules 6-7 inches apart.
The Spaced Pair technique places two directional mics 3 or more feet apart, pointing toward the guitar.
The Mid-Side Technique is an interesting one. It requires a unidirectional mic such as a pencil condenser pointed at the sound source, and a bi-directional mic beneath it and turned sideways so that it picks up reflections from the sides of the room.
Each mic is recorded to its own track, then the bi-directional track is copied to a new track and the phase is inverted on the copy. The bi-directional tracks are panned hard left and hard right, and the unidirectional track is panned to the centre.
By adjusting the volume of the centre track you can control the width of the stereo image.
Mixdown
I don’t tend to do a lot of processing after recording acoustic guitar tracks. In a busy rock mix I might bring down a little of the low end and give it a boost around 15kHz to make it sparkle.
If I’ve recorded the guitar in stereo, which I usually do, I like to keep the stereo width somewhat narrow. In a sparse mix where the acoustic is very prominent, I’ll probably go for a nice wide stereo spread.
If I’ve recorded the guitar in mono I’ll most likely generate a little width with a very fast stereo delay, say 15ms on the left and 30ms on the right. This works very nicely on vocals too.
A little gentle compression will help to give it a bit more sustain, and a small amount of ambient reverb always helps to glue things together.
There are lots of things to consider when recording an acoustic guitar, from the player, the guitar itself, to the types and positions of the microphones you choose to use. With some experimentation, and an ear for detail, you can produce some stellar tracks!